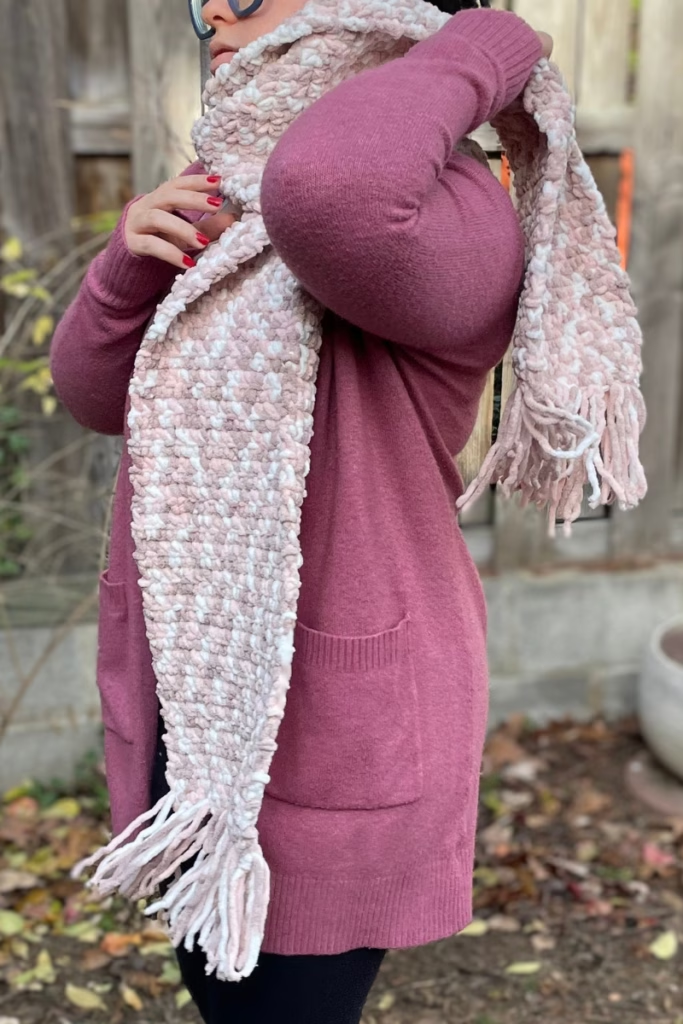
I’ve been crocheting off and on for about 10 years, and the off points come because of how intimidating the craft can be. And every time I pick it back up, I have to reteach myself all of the stitches and techniques I forgot. But, at the end of the day, you don’t have to know everything before you can dive in and start crocheting projects you’re excited about. In this post, you can learn to crochet with 2 easy stitches and even make your first project!
Jump to:
- Supplies
- Chain Stitch
- Single Crochet
- How to Read a Pattern
- Scarf Tutorial
- Weaving in Ends
- Adding Fringe
Beginner Crochet Supplies
The sheer variety of options for crochet supplies can be intimidating. But really, all you need is a hook and one skein of yarn. I’ll give you some tips below, but if you have your grandma’s old crochet hook and a random skein of yarn lying around, there is no need to head to the craft store.
Tips on Supplies for Beginners:
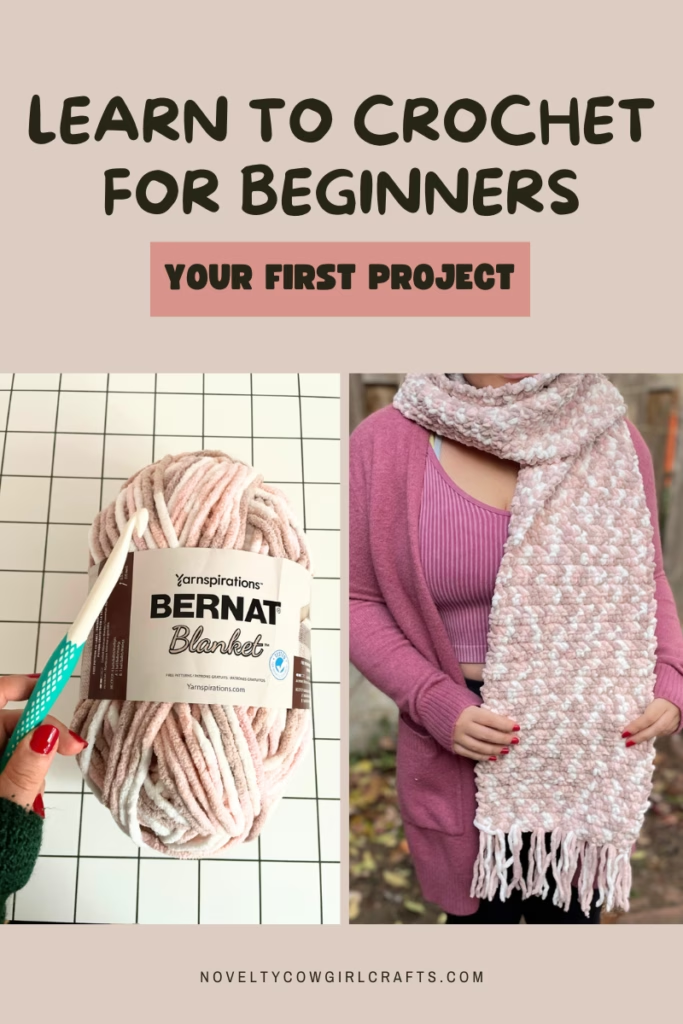
- No black yarn. Sorry to my goths. This is not a hard and fast rule, but while you’re learning, sticking to bright colors and multicolored yarn will make finding your next stitch incredibly easier. I’m using a multicolored Bernat blanket yarn. Speaking of…
- The bulkier the yarn, the faster the build up. It’s also a lot easier to see your stitches, too. The Bernat blanket yarn I’m using is a size 6, super bulky.
- Hook size depends on yarn size. The skein of yarn you’re using will have a recommended hook size on the tag next to the yarn size. My super bulky, size 6 Bernat blanket yarn recommends a size L, or 8 mm hook, so that’s what I’ll be using. There are reasons to use other hook sizes, but in general you can just reference the yarn’s recommended hook size.
Here some links to exactly what I’m using:
YarnInspirations – Bernat Blanket Yarn in Salmon Sand Varg
Michaels – Prym Ergonomics Crochet Hook in Size L

Your First Stitch – The Chain Stitch
The chain stitch is probably going to be the foundation of almost every project you make from this point forward. Luckily, it’s easy! Here’s the directions:
1. Start with a slip knot.
Start with a loop

Form a loop by crossing the tail (the end of the yarn, green) over the working yarn (the yarn attached to the ball, pink). The crossed yarn should look like a small loop with an X-shape at the bottom.
Cross over

Cross the tail of the yarn (green) behind the loop (pink). You should have one big loop with two holes.
Pull the tail through

Pull the tail of the yarn (green) into the bottom hole of the loop (pink). You should have a shape that is almost pretzel-like… kind of.
Stick your hook in

Insert your hook into the top hole (green), and pull the tail of the yarn to tighten (pink). Now you’ve got a slip knot!

2. Yarn over.
A term that will become very near and dear to you soon, the Yarn Over is an important key to every stitch you’re going to learn.

With the slip knot on your hook, move the hook over and under the working yarn (green), creating another loop on the hook.
3. Pull the loop through.
Pull the working yarn loop through the loop already on your hook, and you’ve chained one! Continue to repeat steps 2 and 3 to create a foundation chain.


Your Second Stitch – The Single Crochet
Once you’ve got a foundation of chain stitches, you can crochet into them. The Single Crochet is a simple but vital stitch to learn.
1. Insert your hook.
With a loop from your chain stitches still on the hook (green), insert the hook into the chain stitch second closest to the hook (pink). When working with a foundation chain, you’ll want to insert your hook into the top loop of the chain.

2. Yarn over.
Told you this was important! With your hook still inserted into the chain loop (green), wrap the working yarn (pink) over the back of your hook.
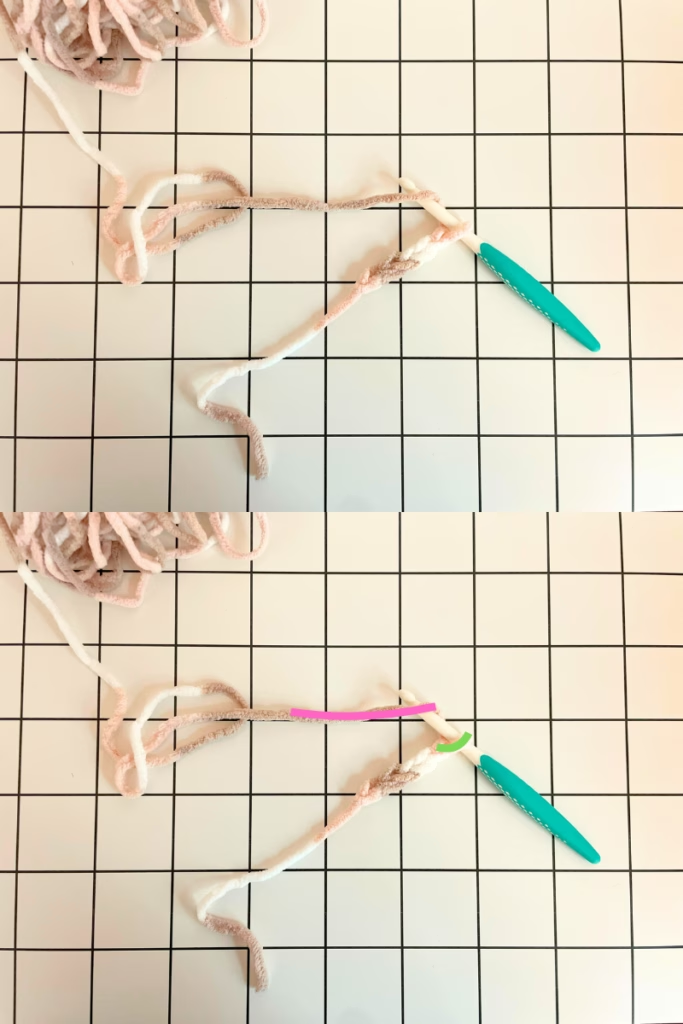
3. Pull through.
Pull that new loop through the chain loop. You should have two loops on your hook now (original loop green, new loop pink).
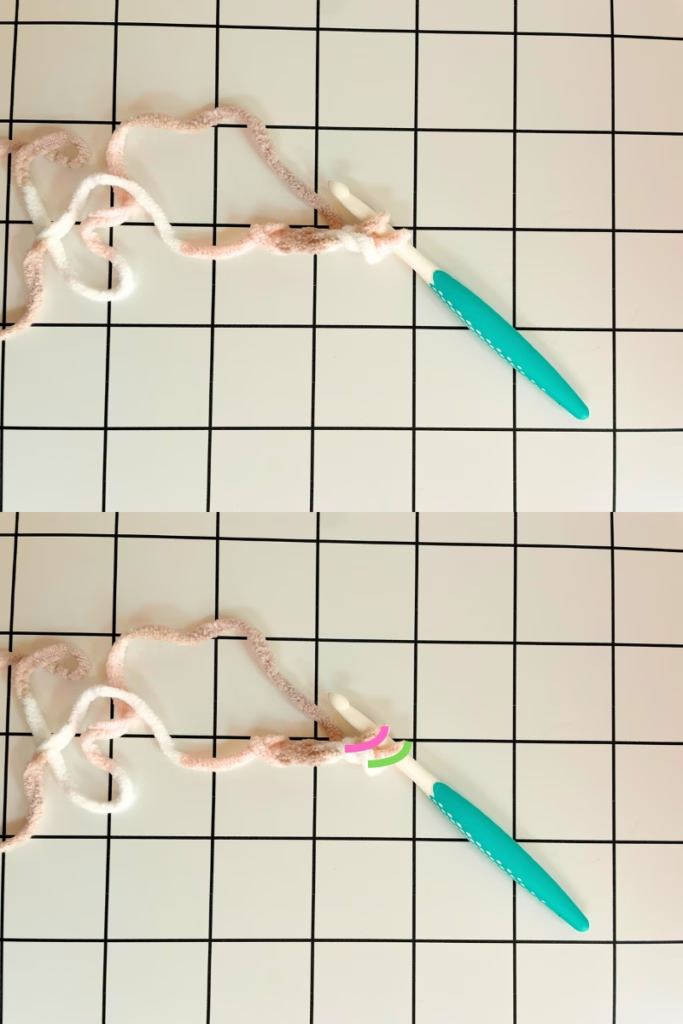
4. Yarn over, again.
Wrap the working yarn (green) around your hook again.
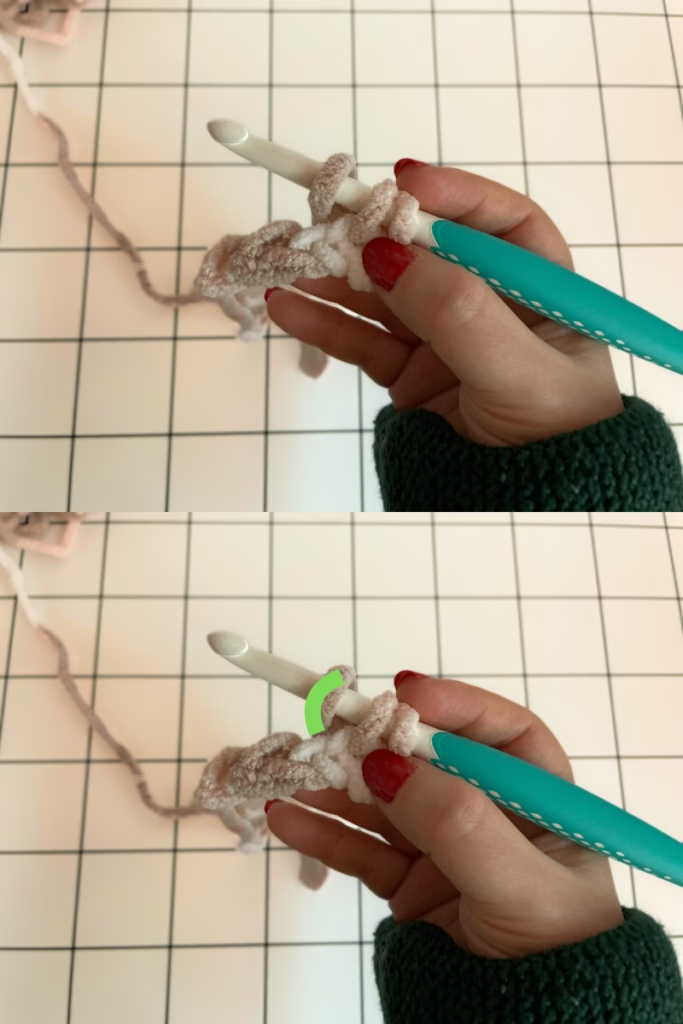
5. Pull through, again.
And pull that working yarn through both of the loops on your hook. You should end with one loop on your hook, and your single crochet is done!
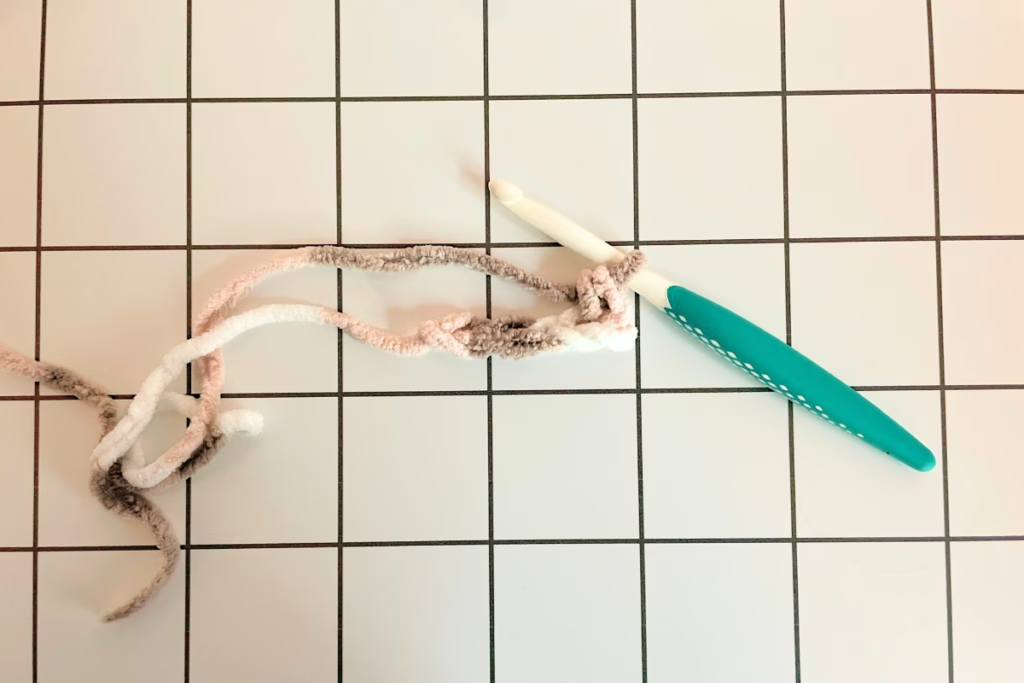
How to Read a Pattern
Now that you know the chain stitch and the single crochet, you’re ready to make an actual, tangible crochet project! One way to do this is to read crochet patterns. Here’s what you’ll need to know:
- Rows/rounds. Instructions for most patterns are laid out in rows or rounds. Like the rows on a spreadsheet, each one builds out on the project.
- Stitch abbreviations. Each stitch has its own abbreviation, but here’s the ones you need to know for now:
- ch = chain
- sc = single crochet
- YO = yarn over
- Repetition. If a stitch or stitch pattern needs to be repeated, it will be in brackets or parenthesis. For example:
- (sc, ch 2) x5 = single crochet, and then make 2 chain stitches five times
Alright, I think you know everything you need to know. Let’s make your first project!
Blanket Yarn Scarf Pattern
Here’s the pattern for the softest (and easiest to crochet) scarf ever. All you need to know is the chain stitch and single crochet stitch.
Supplies Needed
- Size 6 (Super Bulky) Yarn – I’m using YarnInspirations – Bernat Blanket Yarn in Salmon Sand Varg (2 skeins)
- Size L (8mm) Crochet Hook – I’m using Michaels – Prym Ergonomics Crochet Hook in Size L
- Tapestry Needle (to weave in yarn ends – any large needle will do)
- Scissors
Stitches Used
ch – chain
sc – single crochet
sl st – slip stitch (optional)
The Blanket Yarn Scarf Pattern
Row 1
Ch 20
Ch 1 and turn the project so you’re starting over with the hook on the right side
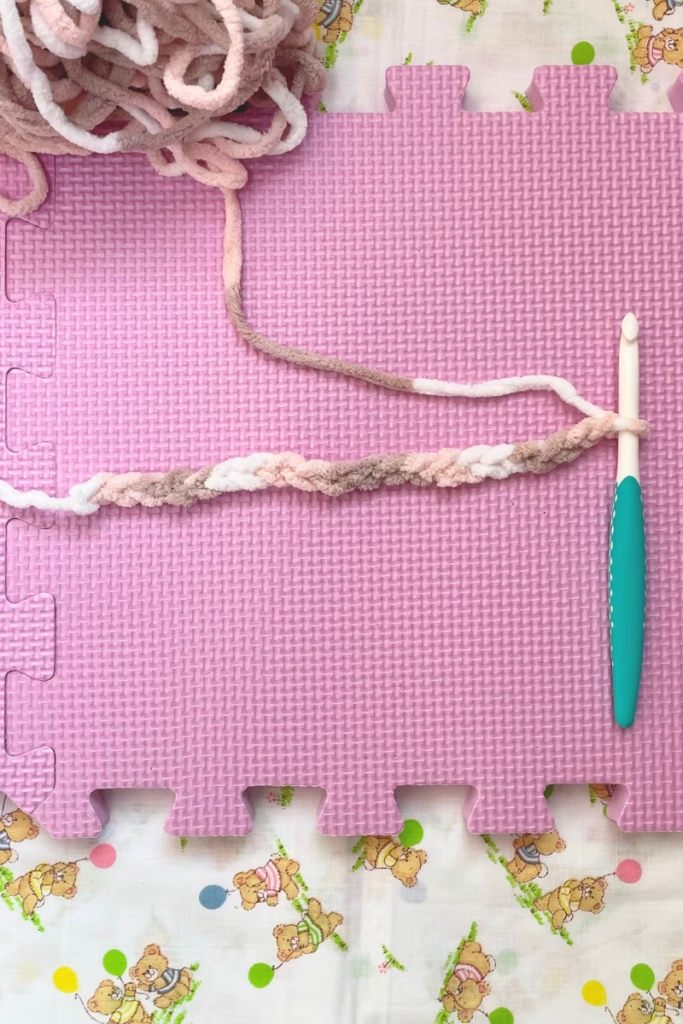
Sc into the second closest chain stitch to your hook. Sc down the row (20 sc total)
Ch 1 and turn
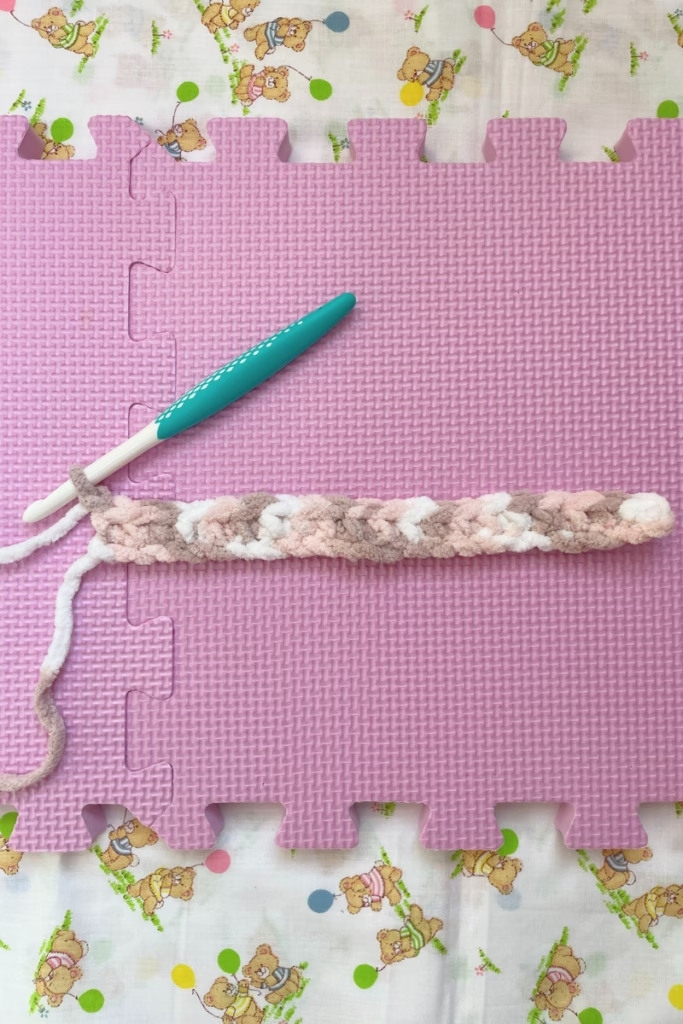
Row 2
Sc into the second closest chain stitch to your hook (you’ll do this for the rest of the pattern when you’re starting a row) Sc down the row (20 sc total)
Ch 1 and turn
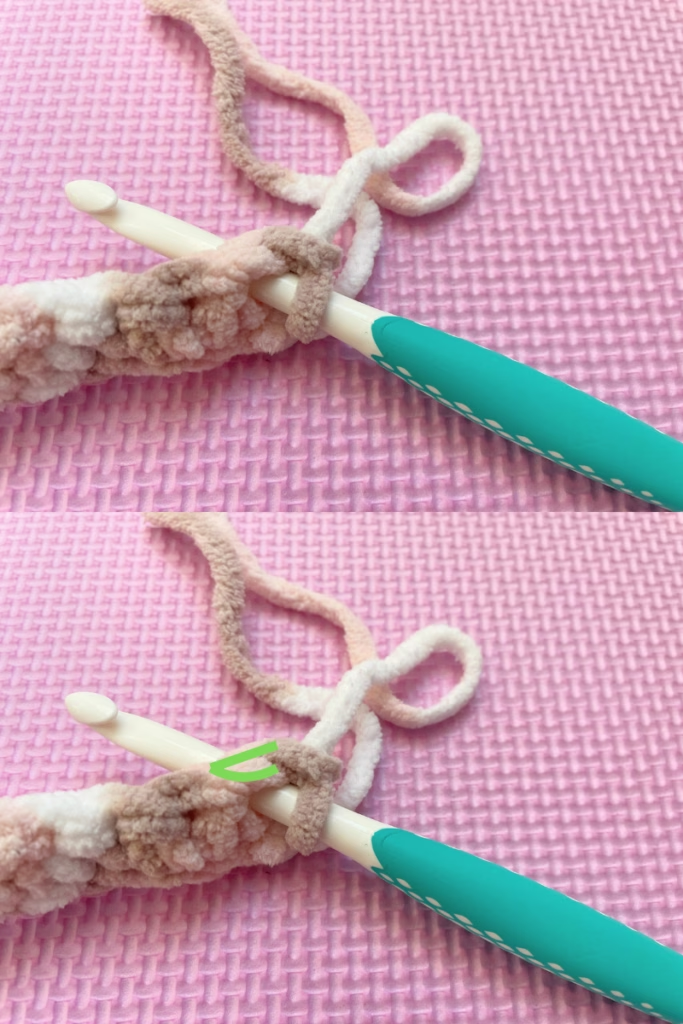
Important: For this row (and every following row), you’re going to single crochet into the full stitch. Single crocheting into a chain means you’re only going under one loop, but a single crochet into other stitches will require you to enter your hook into the entire V shape of the top of the stitch (shown below in green).
Row 3
Sc 20
Ch 1 and turn
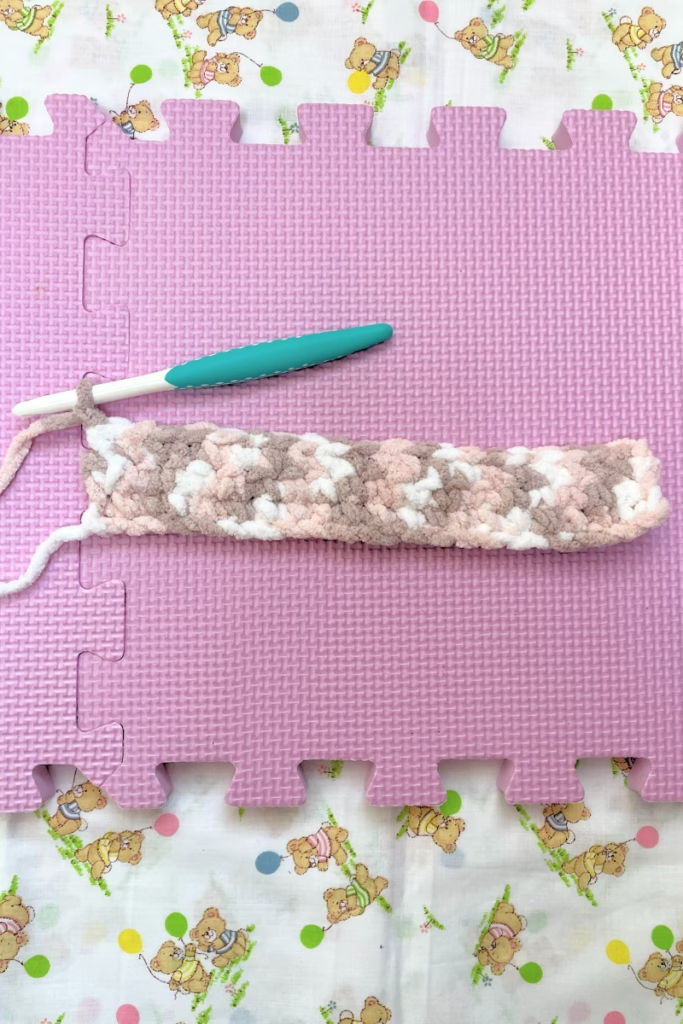
Row 4-140
Sc 20
Ch 1 and turn
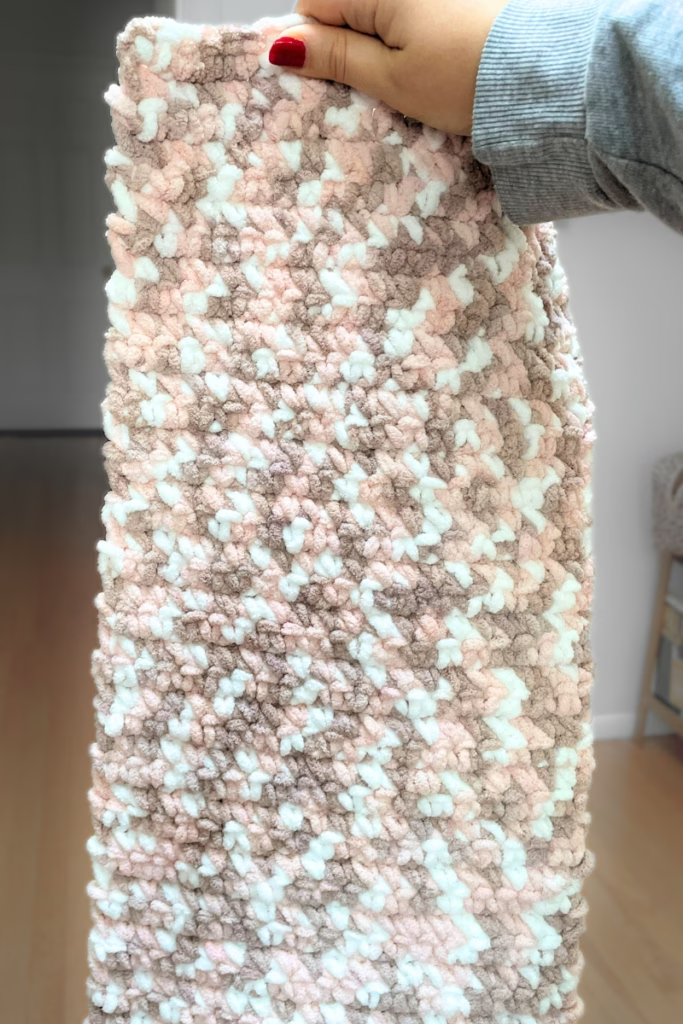
Repeat until you make it to row 140. The scarf will be about 74 inches long.
Fasten off with a small knot and cut a long tail. Weave in ends.
About Weaving in Yarn Ends
Unfortunately there is no perfect way to weave in your ends (at least that I have found). Some people crochet over their ends (although I don’t find this to be very secure), some people just tie them off and cut (again, not super secure if your project is going to see wear and tear), and some people just weave them in throughout the stitches and cut the ends.
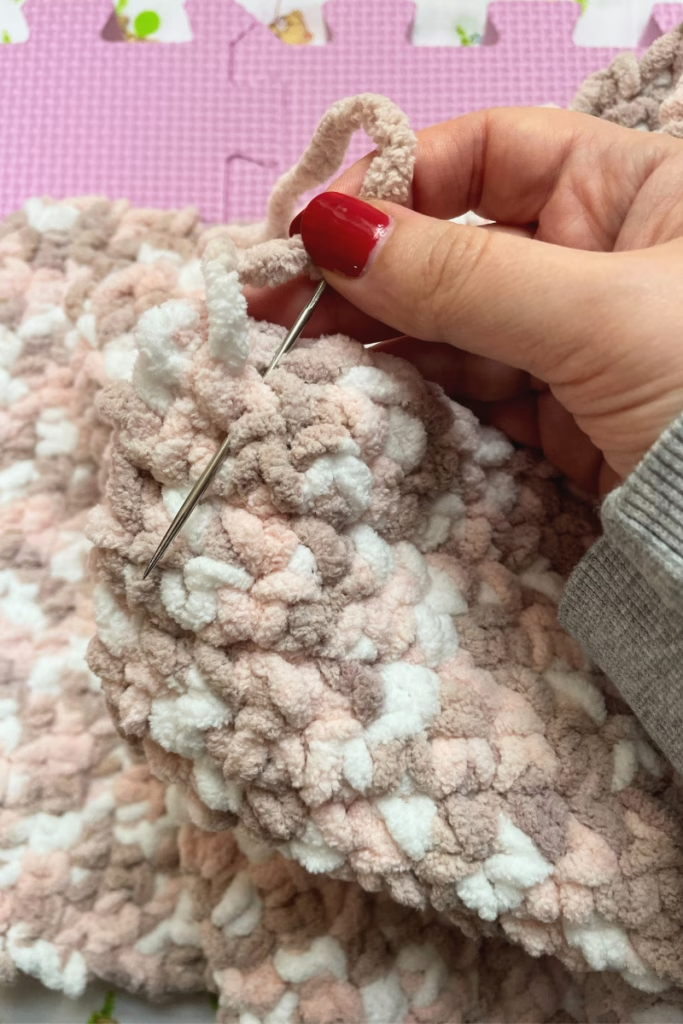
My tried and true way is a mix of a few techniques. I take a tapestry needle and weave the ends of the yarn throughout the stitches, and try to weave them into the yarn itself if I can. I go back and forth instead of in one direction, which I think helps it stay secure.
After weaving a few times (4-6), I take what’s left of the yarn and unravel it (depending on the type of yarn – this blanket yarn for the above pattern is not made of multiple strands so this wouldn’t work). I’ll unravel the yarn into 2 new strands and continue weaving into the project. After weaving both unraveled pieces of yarn through the project a few more times, I’ll tie the unraveled strands into a couple of knots and cut the excess. I think this method is the best because there are multiple barriers of knots and weaving that the yarn will have to go through before your piece can unravel.
Optional: How to Add Fringe to Your Crochet Project
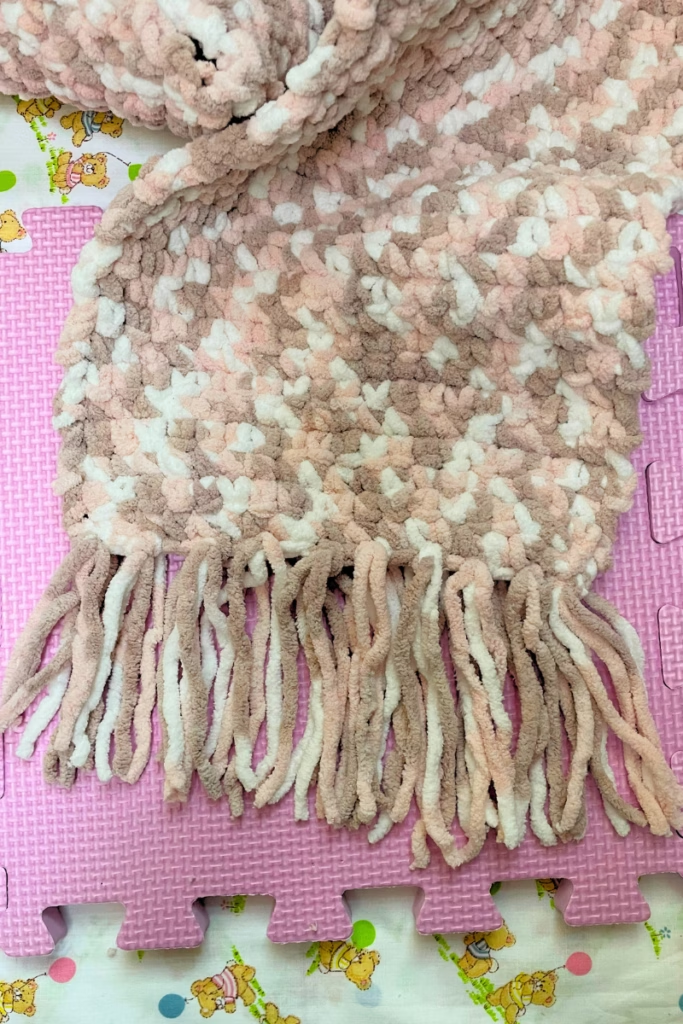
If you’d like to finish your scarf off with some visual intrigue, a great way to do that is with yarn fringe. And it’s so much easier than it looks!
Supplies Needed
- Yarn (I’m match my yarn to my scarf, but you don’t have to)
- Crochet Hook
- Something square/rectangular (CD, DVD, book, etc.)
- Scissors
How to Add Crochet Fringe
Pick Your Fringe Length
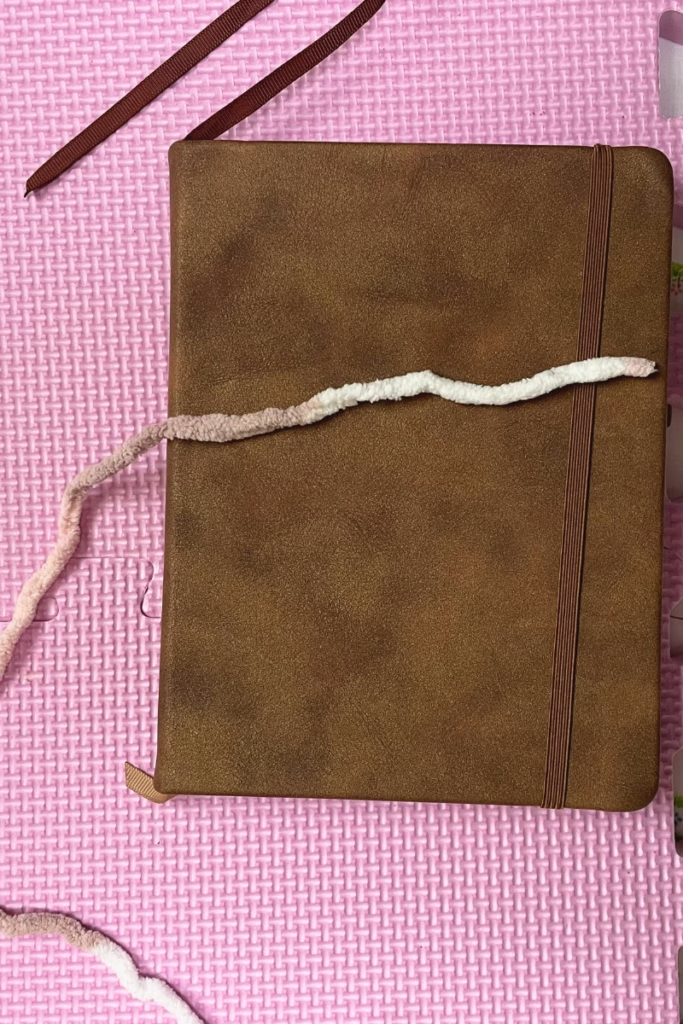
Decide how much fringe you want – I’m going to have 10 pieces of fringe on each end of my scarf, so 20 pieces (or sections) of fringe all together. Pick your fringe length by finding a rectangular object as long as your desired fringe length. I’m using the short, horizontal side of a hardbacked journal.
Wrap And Cut Your Yarn
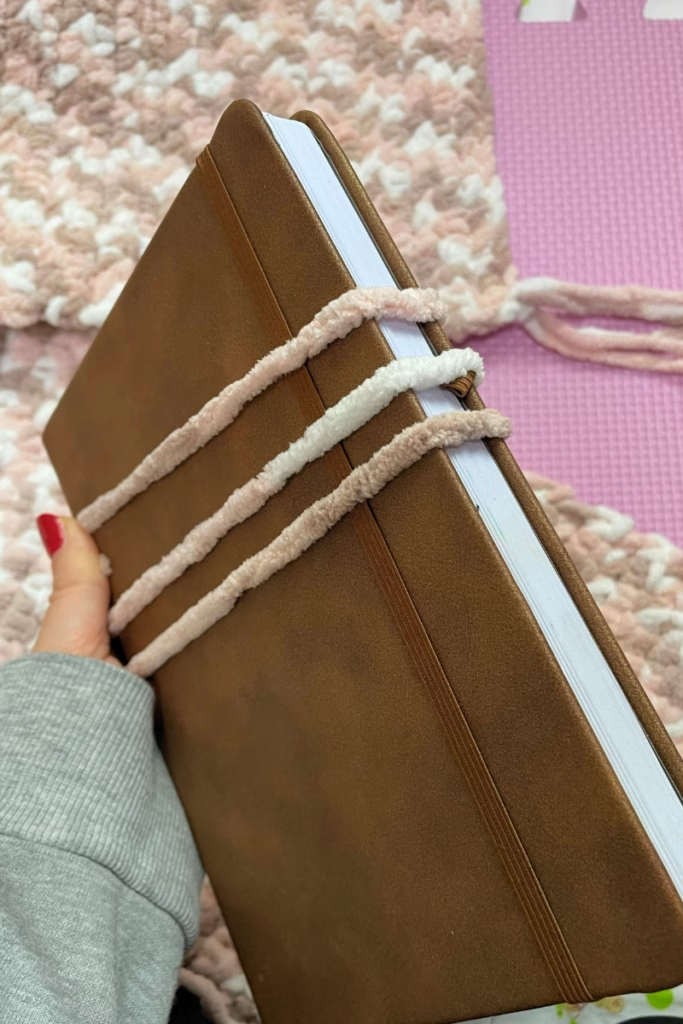
Wrap your yarn around your object HALF as many times as strands of yarn you want per piece of fringe. I.E., I want 6 strands of yarn per each piece of fringe, so I’m wrapping the yarn around the journal 3 full times. Cut your yarn on the side of your object with the yarn end (where my hand is). You’re left with three pieces of yarn that are all the same length.
Attach Your Yarn
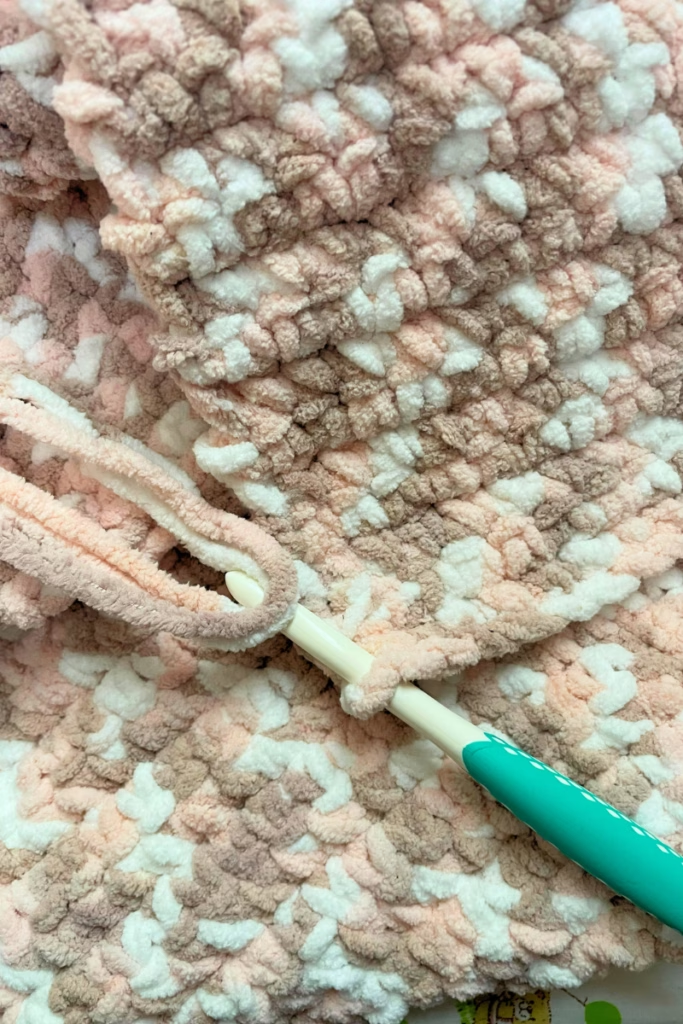
With your crochet hook, pull the three strands of yarn you just made through whichever stitch you want your piece of fringe to hang from. Don’t pull it all the way through, leave a loop.
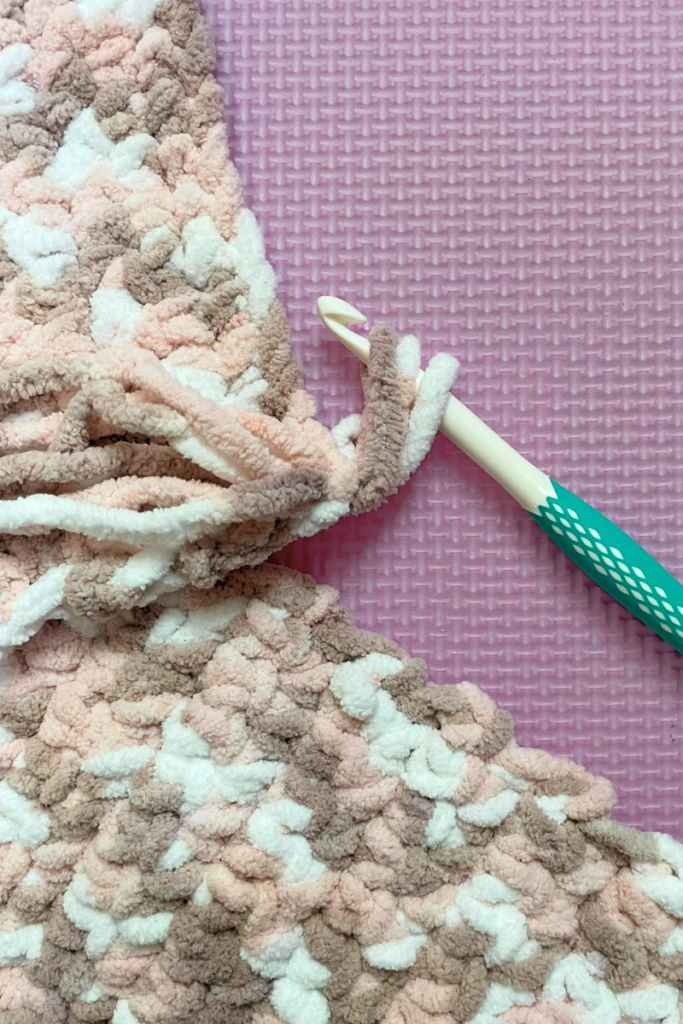
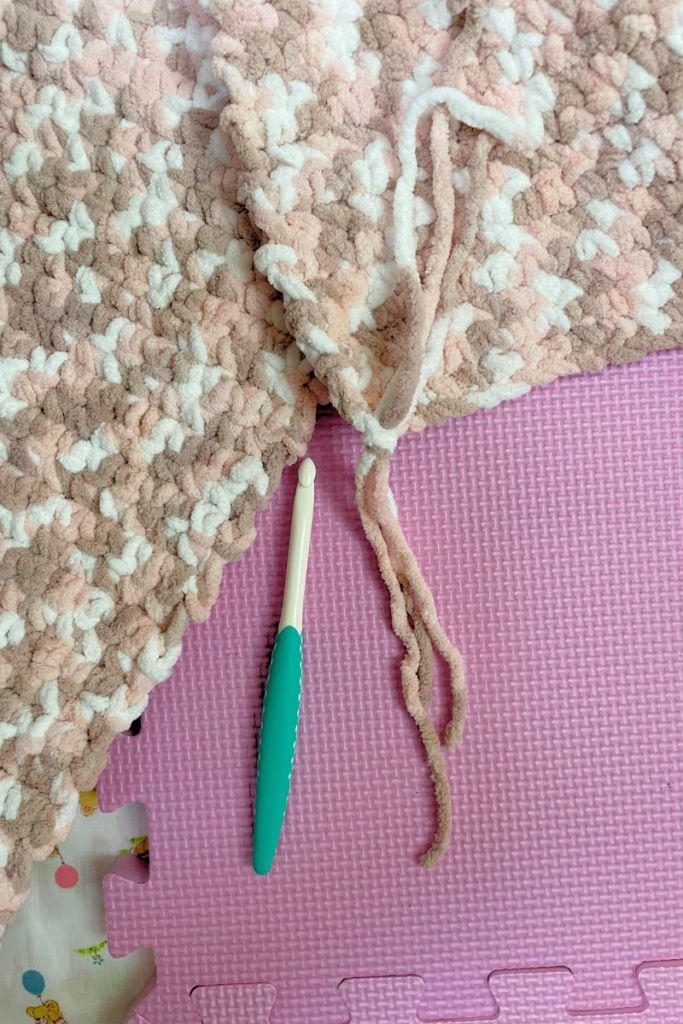
Pull Through and Knot
Using your fingers, pull half of your strands through the loop (I have three pieces of yarn because I want 6 strands total – so I’m pulling 3 strands of yarn through) and tighten. You have a piece of fringe! Don’t worry if it’s not totally even. When all the fringe is on, we’ll trim them to all to match.
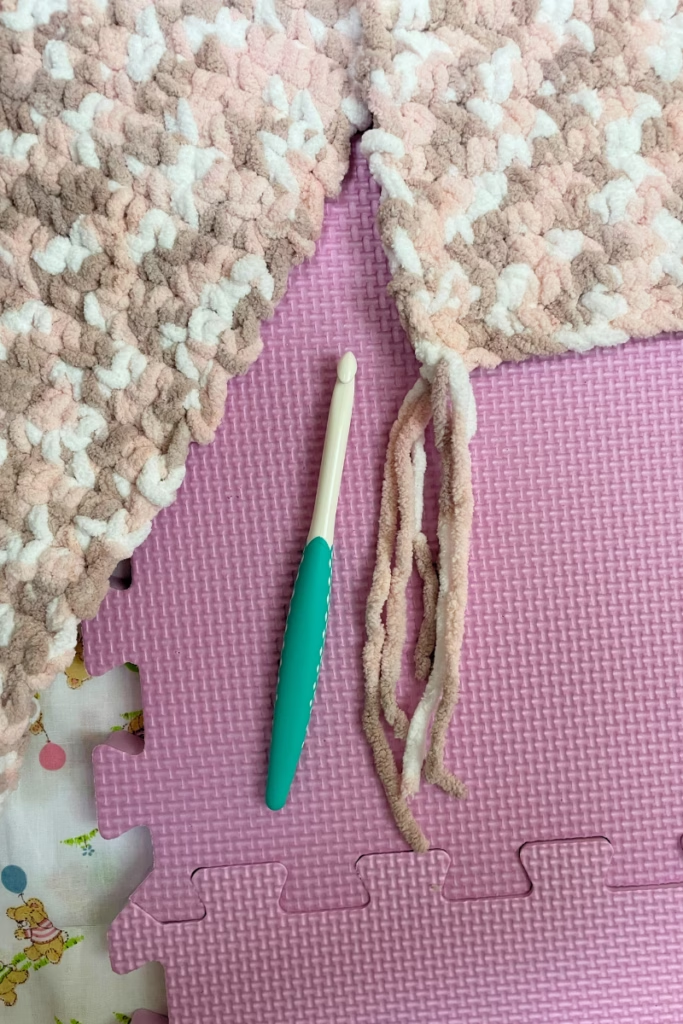
When you’ve added all your fringe, trim them to match and you are done!
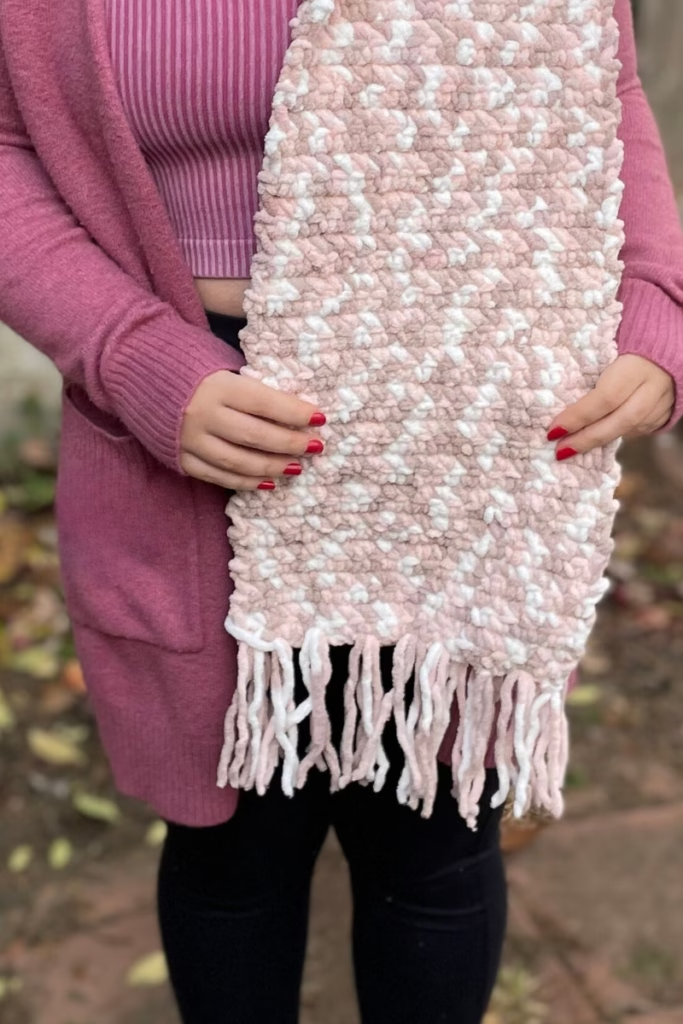
And with that – you’ve completed your first crochet project. I hope the stitches and pattern were helpful, and you feel ready to try new patterns and keep going on your crochet journey.

