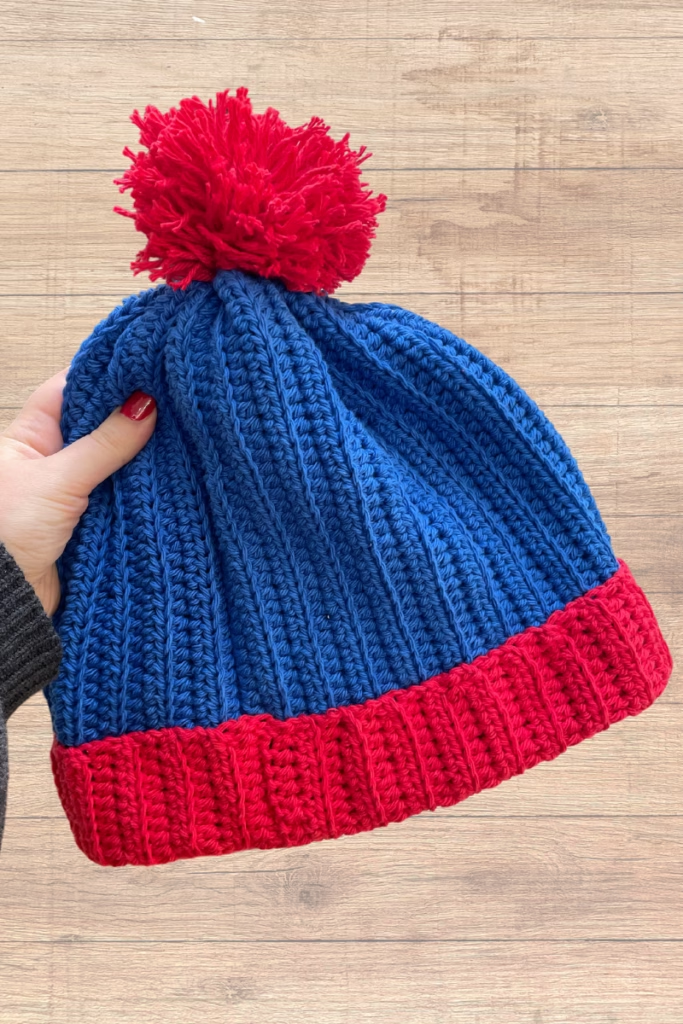
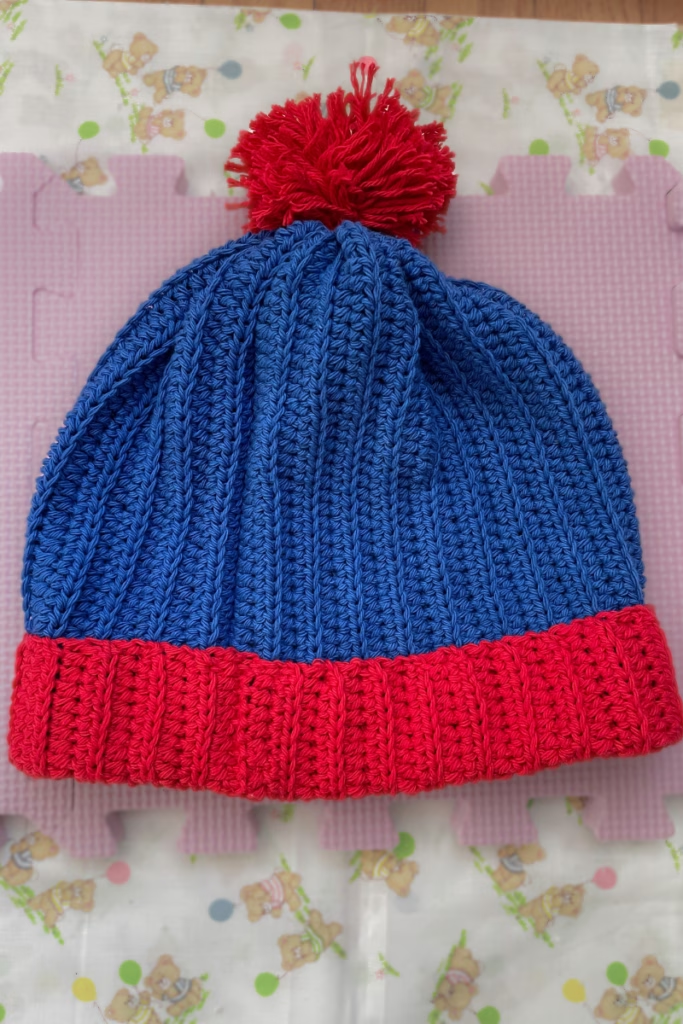
Looking for the perfect gift for a South Park watcher in your life? This is a really simple crochet project for a ribbed beanie with a pom pom. If you’re looking for a free South Park crochet pattern, look no further – although this winter hat could be made in a variety of colors.

This a great gift for a man, too. I think we’re all familiar with how hard it is not only to shop for the men in our lives, but to crochet or DIY them gifts, as well. So many crochet gift ideas lean feminine, which is fine, but it’s just that much harder to find crochet gift ideas for men. South Park is a super popular show, not just among men, but if your boyfriend or husband likes it, this free pattern makes a great gift idea.
Notes on the South Park Crochet Hat Pattern:
- The following pattern was made custom for my boyfriend’s head. I measured the circumference of where I wanted the hat to fit on his head. Since this pattern is worked into vertical ribbing, each row (which ended up being 58 for him) made up that measurement. You’ll basically want to complete as many rows as you can until the hat is as wide as the head you’re making the hat for, and make sure the amount of rows in the red brim match the amount of rows in the blue beanie. Same thing for the length of the beanie, but your foundation chain ends up being how long you want the hat to be.
- You can customize this style of beanie as much as you want – at it’s core, this is just a winter hat with a varying colored rim and a pom pom.
- I’m using US terms for the crochet pattern.
On Crocheting into the Raw Edge:
There is no perfect way to do this, and you don’t even have to make as many sc into the raw edge as I do – the amount of sc into the raw edge of the red brim and the blue beanie just have to match.
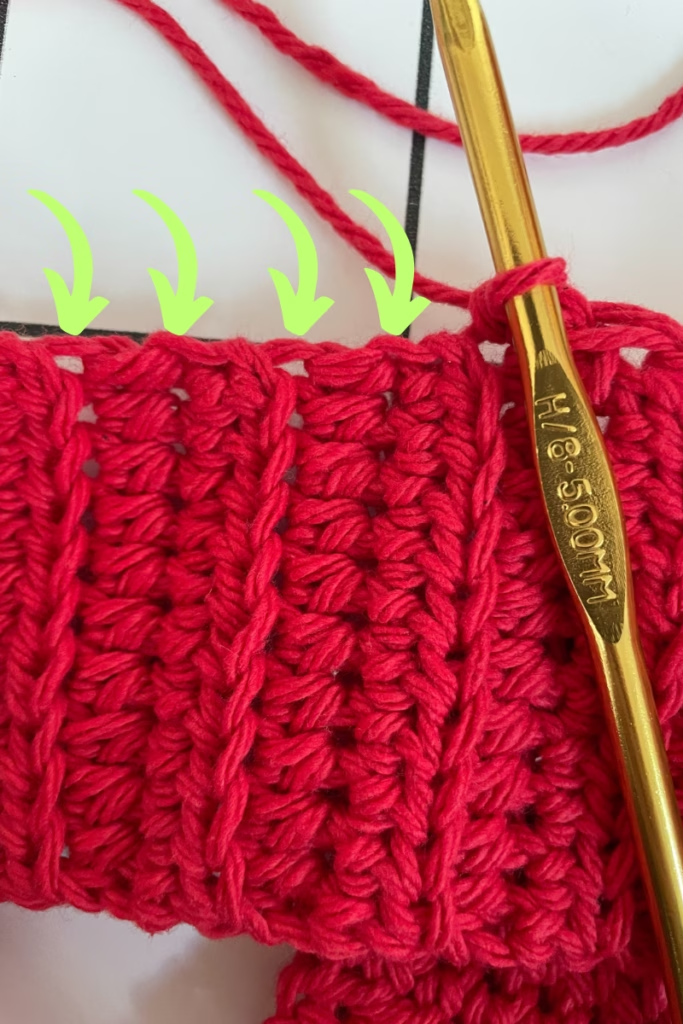
For this project, I worked into the following parts of the raw edge:

It’s easy to tell with BLO crochet, but every 2 rows creates these vertical “sections.” In each section, there is an obvious loop and a tighter stitch. The obvious loop is easy to crochet into, but for the tighter stitch you have to put the hook underneath the stitch, not through it. Like I said, there is really no exact science to this and it doesn’t have to be perfect – just make sure the two rows in this project where you single crochet into the raw edge have the same amount of single crochets. We’re going to use them to connect the two pieces.
Materials Needed for South Park Crochet Pattern
For South Park Hat:
2 colors of worsted weight yarn:
Yarn A – Red (I used Classic Cotton Yarn by Loops & Threads in Tomato)
Yarn B – Blue (I used Classic Cotton Yarn by Loops & Threads in Royal Blue)
5.0 mm hook (size H)
Scissors
Tapestry needle
For pom pom (if you follow the embedded tutorial):
Cardboard
2 circular items (one big, one smaller)
Abbreviations to Remember:
ch – chain stitch
hdc – half double crochet
BLO – back loop only
Sl st – slip stitch
South Park/Stan Marsh Hat Free Crochet Pattern:
Red Brim
Row 1
Ch 10
Ch 1 & turn
Hdc 10
Ch 1 & turn
Row 2
Hdc BLO 10
Ch 1 & turn
Row 3 – 57
Repeat Row 2 until you’ve got 57 rows
Sl st Row 57 with the chain from Row 1 to connect and create a loop
Row 58
Turn project so you’re working with the raw edge
Sc 57 down the raw edge
Sl st to your first sc
Cut and fasten yarn, leaving a long tail
Blue Beanie
Row 1
Create a slipknot and leave a very long tail – we’re going to use this to cinch the beanie closed later.
Ch 38
Ch 1 & turn
Hdc BLO 38
Ch 1 & turn
Row 2 – 57
Hdc BLO 38
Ch 1 & turn
Repeat until you reach 57 rows total
Sl st Row 57 with the chain from Row 1 to connect and create a cylinder
Row 58
Turn project so you’re working with the raw edge
Sc 57 down the raw edge
Sl st to your first sc
Connecting the Beanie and Brim
Hold red brim against blue beanie with the edges you single crocheted held together
Sl st 57 through both rows of sc to connect the pieces
Flip the red brim up
Weaving in Ends to Finish Hat
Weave the long tail of red yarn left over from Row 58 of the red brim to fasten the top of the rim to the blue beanie (this is optional, but I did it because I didn’t want the rim to flip down).
Weave the long tail of blue yarn left over from Row 1 of the blue beanie to cinch the top of the beanie closed (weave into the raw edge). I used this tutorial by Joy of Motion Crochet:
Weave in any additional yarn ends left.
Adding the Pom Pom
Using the same red yarn used to create the red brim, create a pom pom. I used this pom pom tutorial by Sheep & Stitch:
With the tails of yarn from knotting your pom pom closed, weave through the top of the hat to fasten the pom pom.
Turn the beanie inside out and weave the ends of the pom pom through the inside of the hat, securing it.
Cut any additional yarn tails.
And you’re done!

I hope you enjoyed the pattern and love the results. If you’re looking for more free crochet patterns, check out the Free Crochet Patterns section of my blog. I’ve even got a post dedicated to free crochet patterns for fast gifts.